
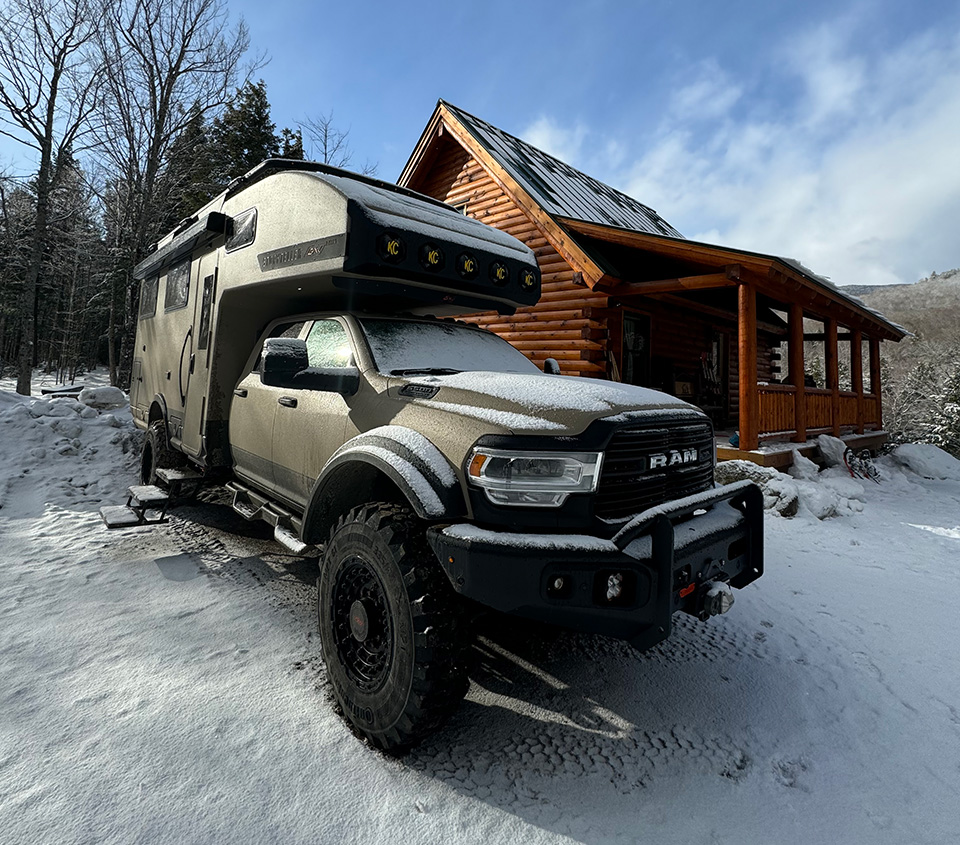
As temperatures drop, it’s time to make sure your rig is properly winterized. Here’s a simple, step-by-step walkthrough for the GXV Hilt. These tips also apply to many expedition rigs and RVs.
Prefer a visual guide? Watch our step-by-step GXV Hilt Winterization Video
1. Choose Your Method
You can winterize using RV antifreeze or compressed air. We prefer compressed air as a quick and easy process.
2. Use the Right Adapter
You’ll need an air-compressor adapter that connects to your external water port. Choose one with a valve so you can regulate airflow into the plumbing lines.
3. Set Your Water Selector Correctly
On the Hilt, switch the water selector to:
City Water → Hilt Fixtures
This routes air through the water fixtures instead of the fresh water tank.
4. Drain the Fresh Water Tank
Before blowing out the lines, make sure the fresh water tank is completely empty.
5. Use the Water Pump to Clear the Lines
Turn on your water pump and open your hot and cold lines. Let the pump push out as much water as possible from both sides of the system.
6. Blow Out the Water Lines with Compressed Air
Open a faucet to give the air a place to escape.Then turn on your air compressor and allow air to move through the system. Make sure to blow air through both hot and cold lines until only air remains.
7. Drain the Low-Point / Tank Drain Area
Your Hilt has a low-point drain area that also includes the fresh water tank outlet.
Remove the cap, empty out the remaining water, then reinstall the cap. This step removes the last bit of water.
Need a little extra guidance? Check out our detailed video tutorial to follow along step by step:
That’s all it takes to winterize your GXV Hilt using compressed air.

